import files in Galaxy using the edited files metadata
Now that we have formed the appropriate metadata file, we are going to use it to import the GDC data in a GALAXY User Account. Therefore, you should own a Galaxy account in a Galaxy server, for instance
Import the metadata file in a Galaxy History
-
Create a new Galaxy history by clicking on the
+of the top right menu
-
Rename you history "TARGET Expression datasets"
-
Open the upload panel by clicking on the upload icon
-
Select the
Choose local filetab and your edited gdc_sample_sheet.2020-02-19.tsv (see previous section) -
Click on
Startand close the panel. the edited metadata file should now be in yourTARGET Expression datasetshistory.
Import the expression datasets specified in the metadata file
- Click again on the upload icon
-
This time, select the Paste/Fetch data tab

-
Click on the
Rule-basedtab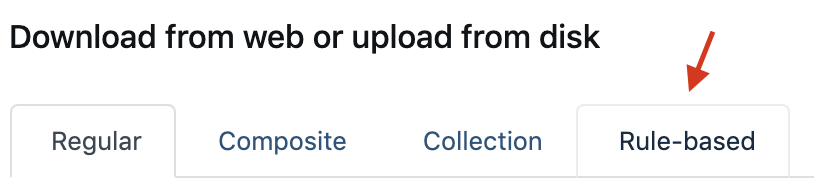
-
Select Upload data as:
Collection(s), Load tabular data from:History Dataset, Select dataset to load:gdc_sample_sheet.2020-02-19.tsv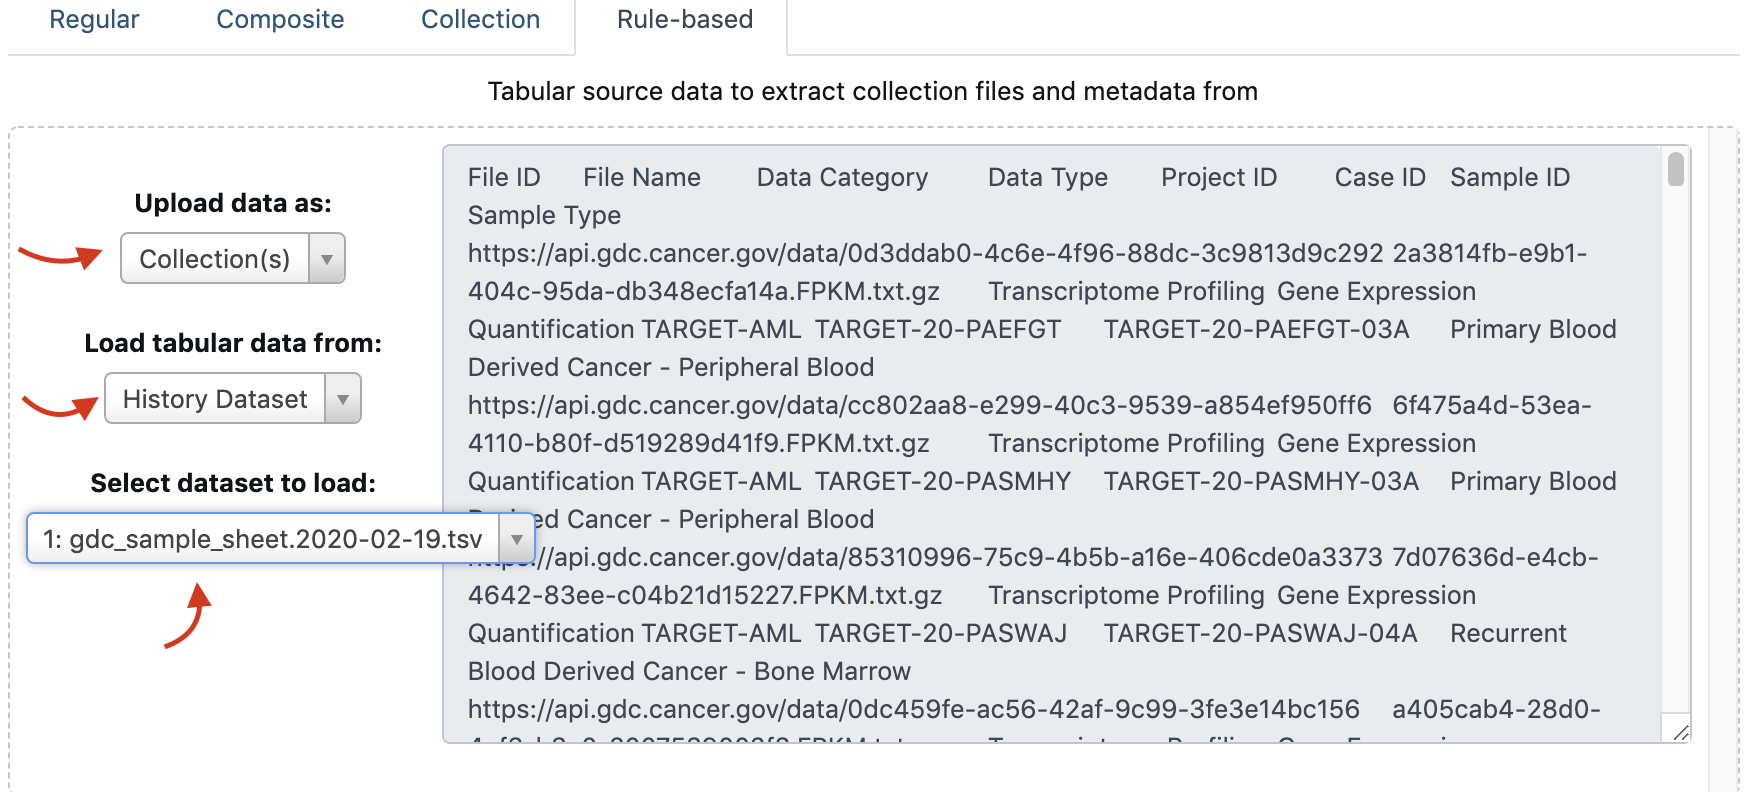
You should see the content of the metadata file appearing.
-
Click on the
Buildbutton -
On the left hand side off the panel, there is a "Rules" section, and a link to click on
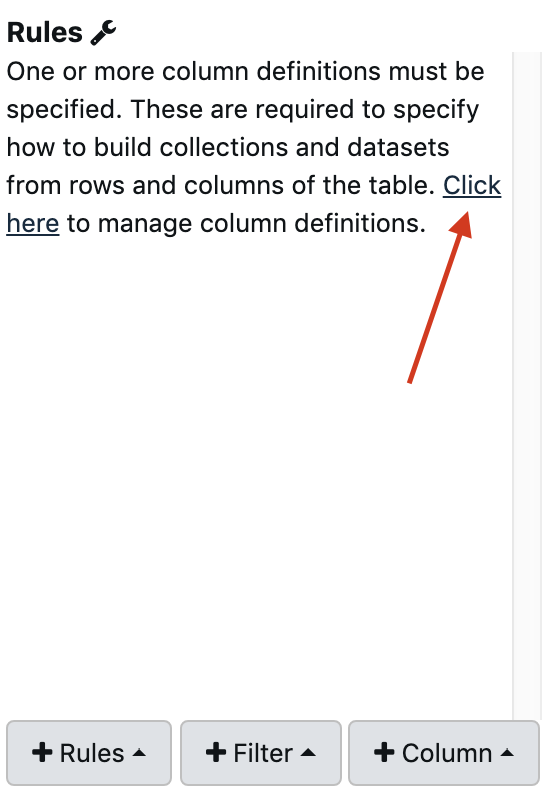
-
Then, click a first time on
Add Definitionand selectURL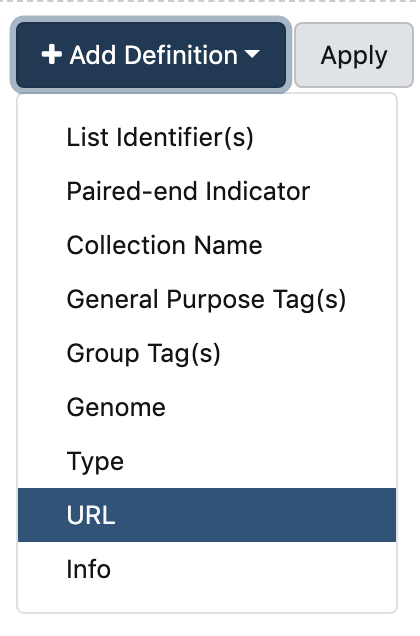
You should now see that the column A will be recognized as providing the URLs of the datasets to download.

-
Click a second time on
Add Definitionand selectList Identifier(s). Further select theBcolumn. -
Finish the Rules settings by clicking on
ApplyNow, there is on task remaining: we have to indicate to Galaxy that the first line of the metadata file is the column headers and should not be considered as containing information.
-
Click on the
Filterbutton,
select
in the empty field, and finally check theMatching a Supplied Value, from columnA(should be already selected), pasteInvert filtercheckbox.Here is our filter: we do not want to consider lines that contain the string
File IDin column A.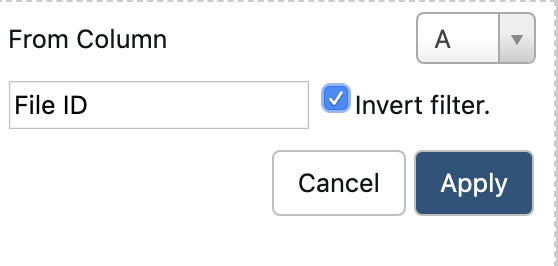
-
Click on
Applybutton -
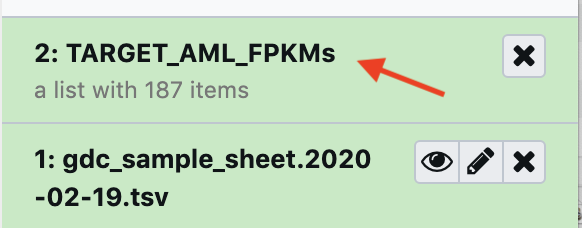
Finally, give a Name to the future collection of downloaded files, in the field
Name. For instanceand click the
Uploadbutton.You should see the following upload banner

Now, you just need to wait, the upload of the ~200 files, 1.6 GB each, is expected to take less than 5 min.
-
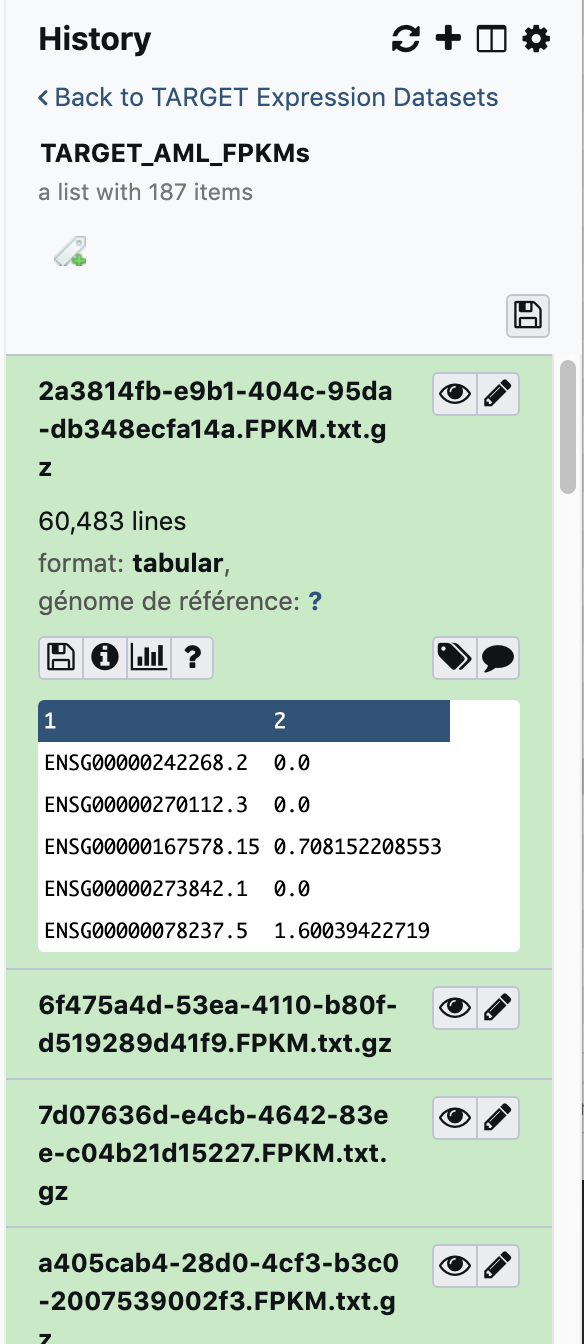
After completion of the upload, take a look to you dataset collection: